Verystep Guides Verystep Guides
How to Compress an Image to a Target File Size
A form says under 200 KB and your photo is 3 MB. Guessing at the slider wastes time. Work down to the target in small, checked steps instead.
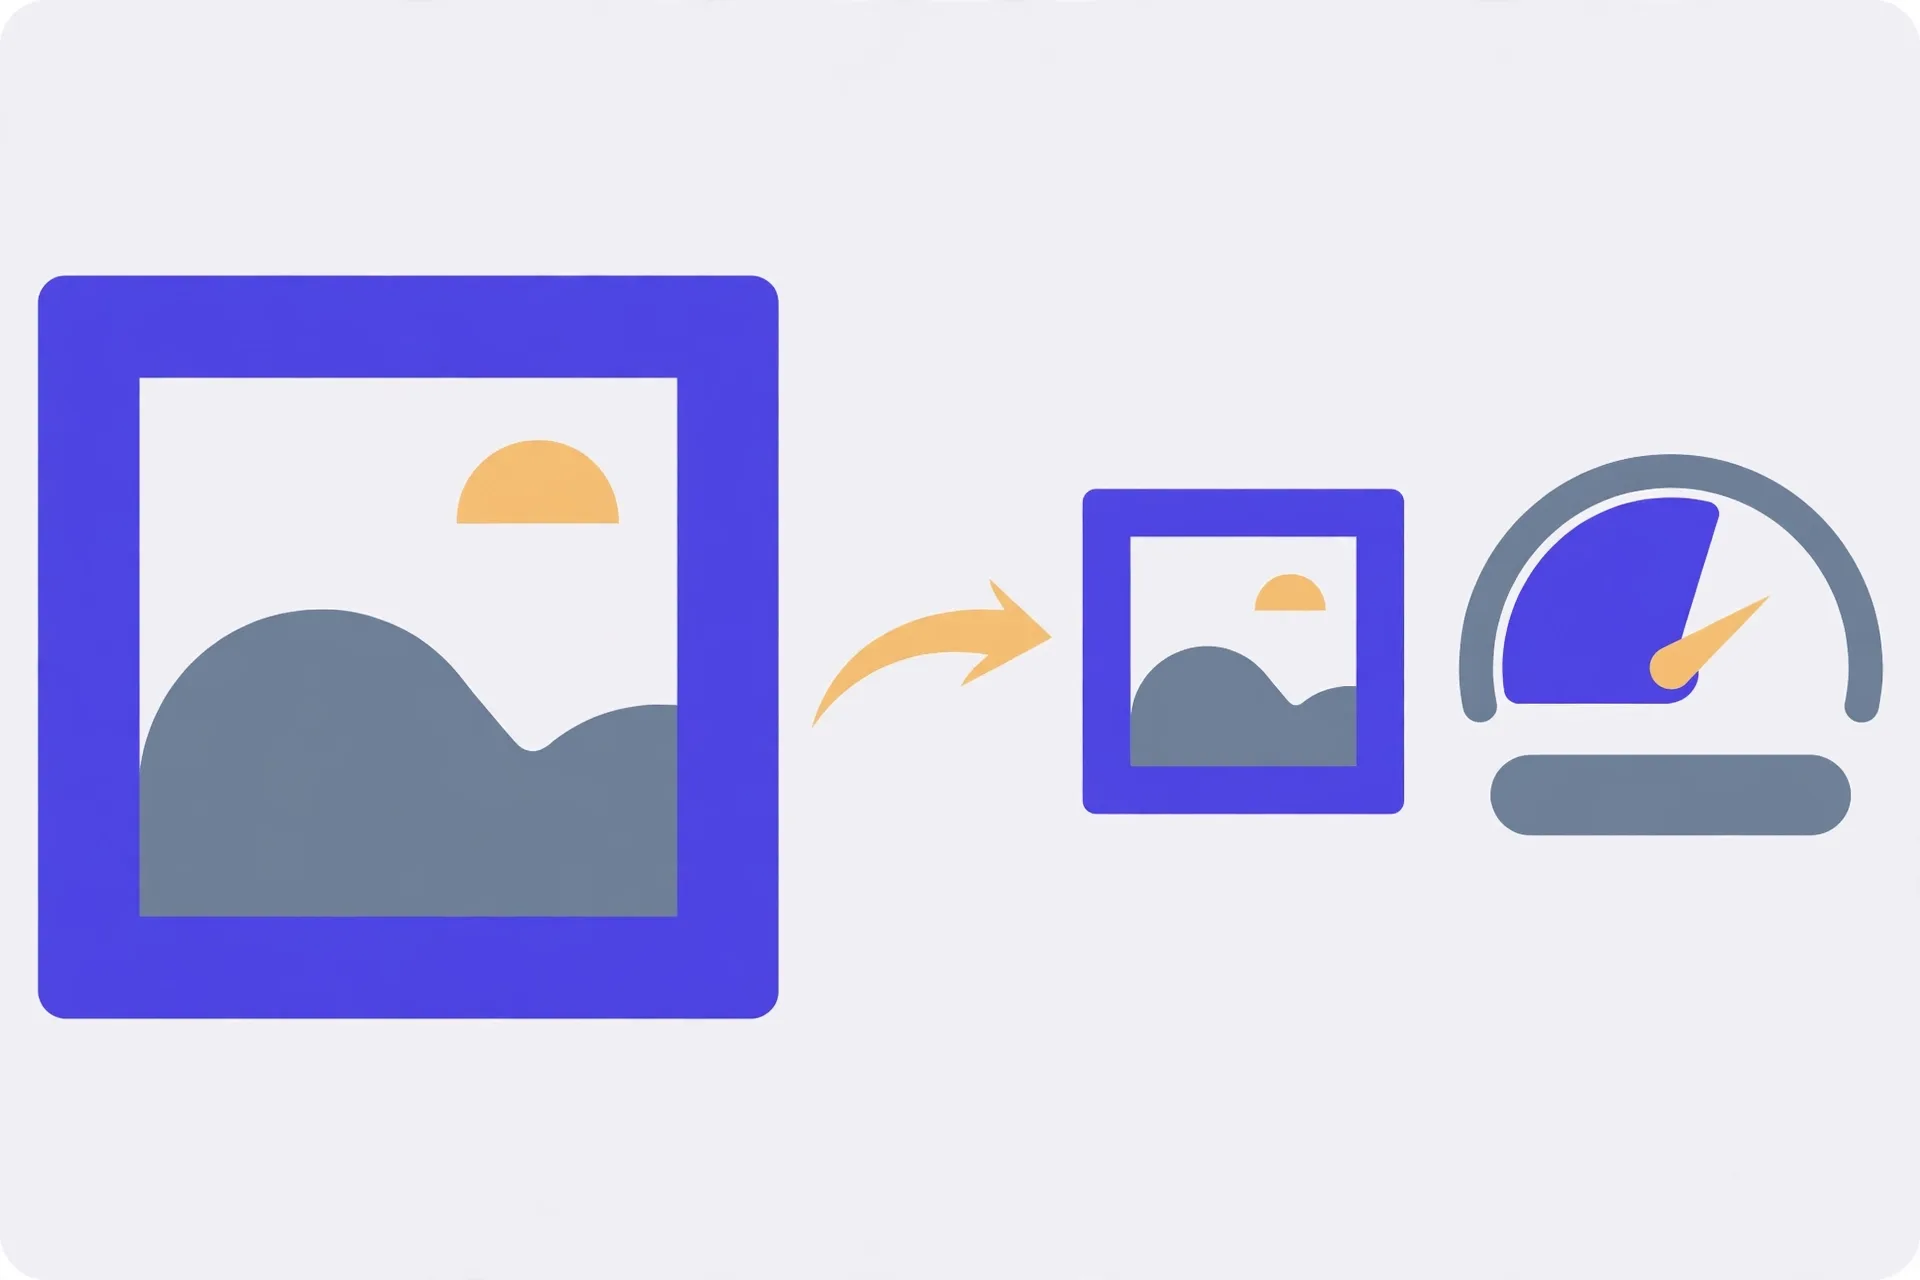
Start with two numbers: how big the file is now, and how big it is allowed to be. Open the image, note its size and its pixel dimensions, then work toward the target in order. Try a format switch first if you can use WebP. After that, lower the quality slider a little at a time and watch the predicted size. Quality alone won't always get you there. If the photo is huge in pixels, shrinking the dimensions does more work with less damage. Export, check the real saved size, and look at the result at full size before you upload it anywhere.
Check what you have before you touch anything
Sounds obvious. People skip it anyway. They open a compressor, drag a slider to somewhere that feels low, export, and only then discover the file is still too big, or so small and mushy it gets rejected for a different reason.
So look first. On most phones and computers you can see the file size right in the file details, and the pixel size too, something like 4000 by 3000. A 3.2 MB photo at that size has a lot of room to shrink. A 450 KB photo at 1200 by 900 does not. The starting point tells you how hard you will have to push, and whether quality alone stands a chance. The Verystep compressor shows you both numbers as soon as you drop the file in, and it does that in your browser. Nothing gets sent to a server while you work.
The steps, in order
Work down this list top to bottom. Each step keeps the next one honest, and you will usually land within a few kilobytes of the target on the first or second export.
- Check the current file size and pixel dimensions before you change anything.
- Write down the target size the form or site asks for, and leave a small margin under it.
- Open the image in the compressor and try WebP for photos, or keep JPG if the uploader only accepts JPG.
- Lower the quality slider in small steps, checking the predicted size after each move.
- Stop lowering quality if faces, edges or small details start to look soft or blocky.
- Resize the pixel dimensions instead when quality alone cannot reach the target without ruining the image.
- Export, check the saved file size, and view the result at 100% before you upload it anywhere.
Quality first, then dimensions
Quality and dimensions do different jobs. The quality slider tells the exporter how much detail it may throw away inside the same pixel grid. Lower it a bit and a photo often drops by a third with no visible change. Lower it a lot and you get flat skies, smeared hair, and square blocks in the shadows. You'll see it if you look.
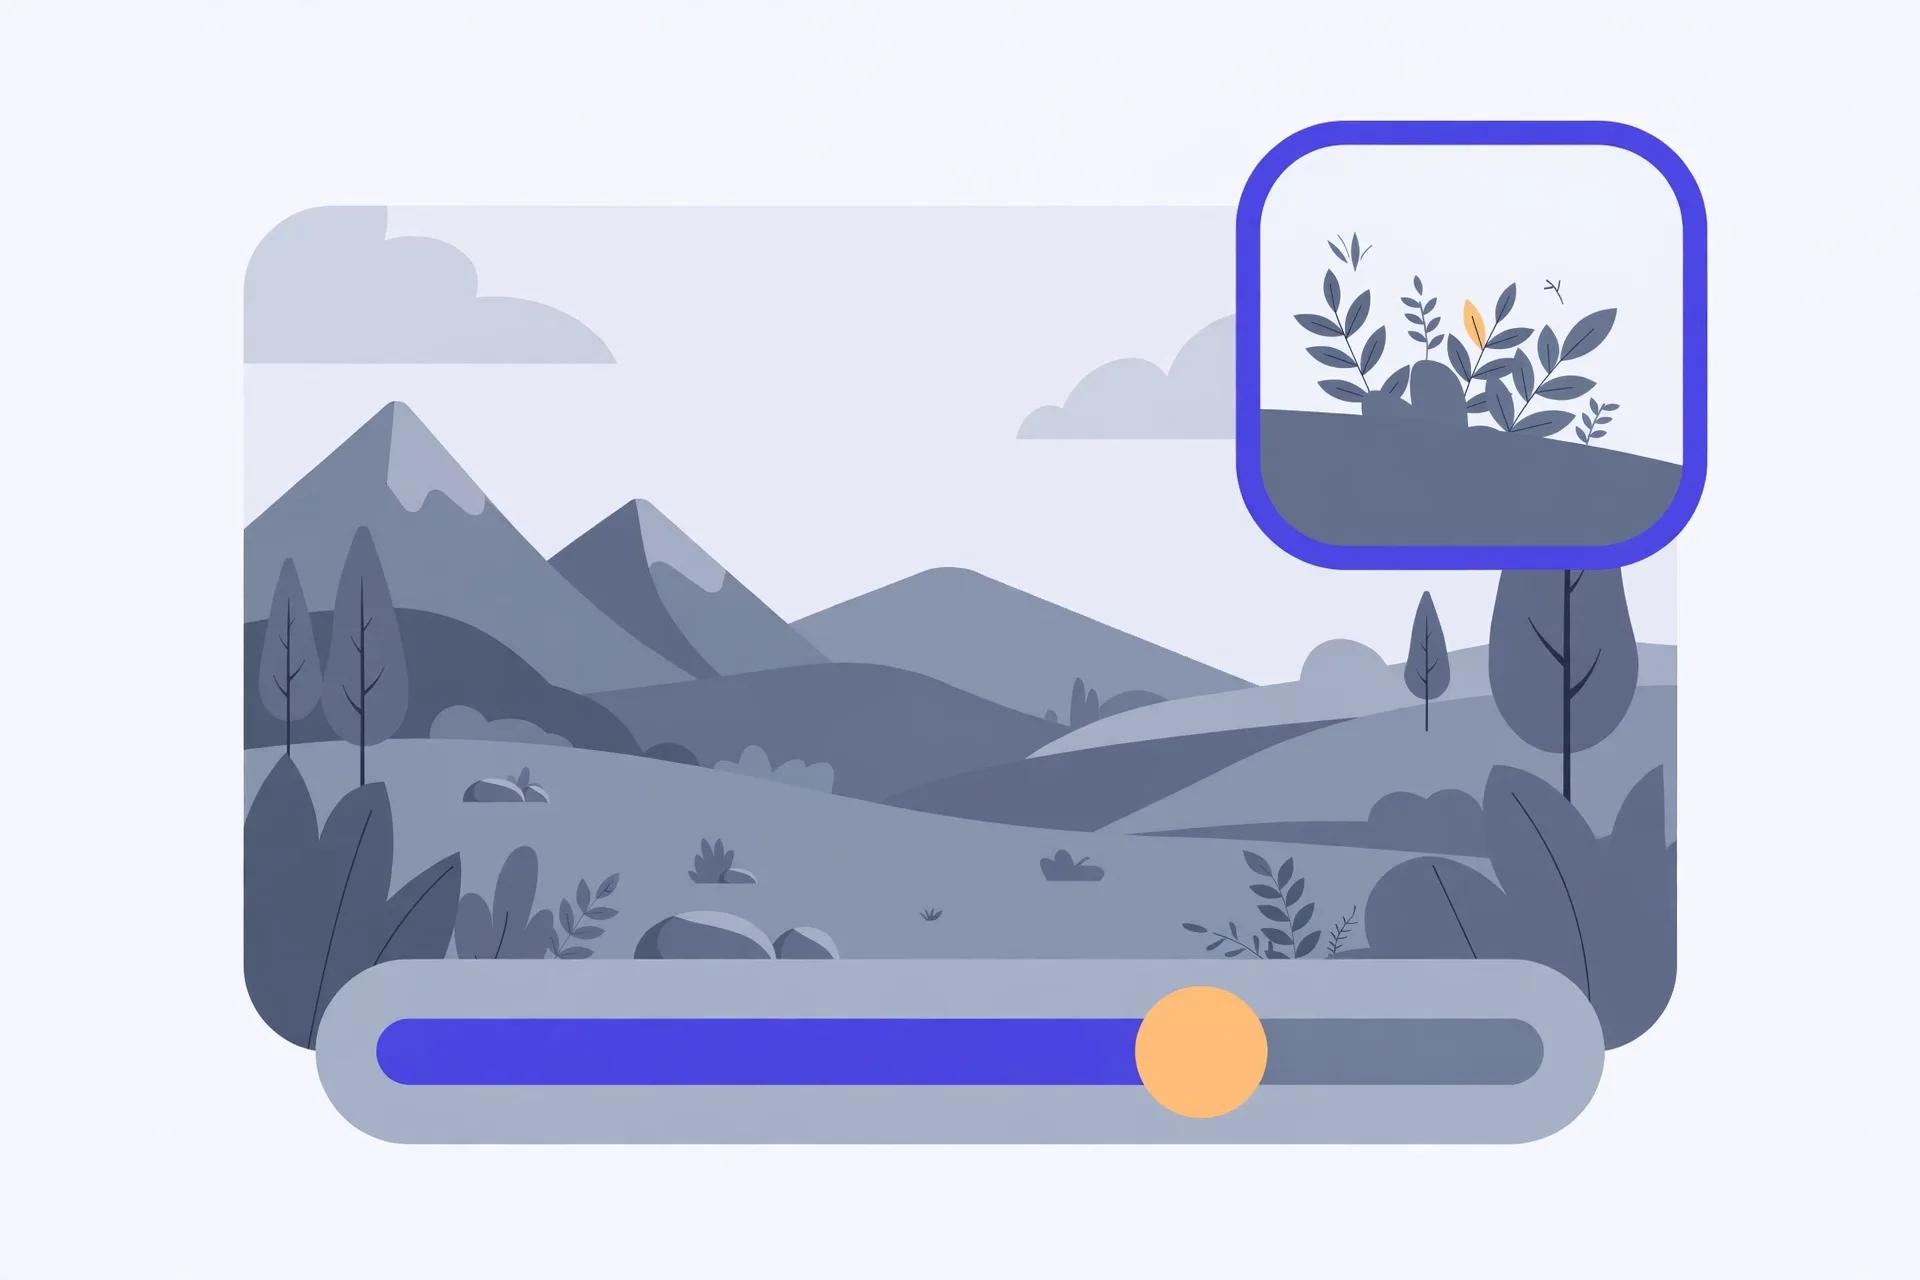
Dimensions are blunter and, past a point, kinder. Halving the width and height cuts the pixel count to a quarter, so the file falls fast while the remaining pixels stay clean. That trade makes sense when the photo will only ever be shown small, in a listing, an avatar, or a form preview. It makes no sense for a print or a portfolio piece. Ask where the image will actually be seen, then pick the tool that fits that answer.
Format sits alongside both. For photos, WebP usually beats JPG at the same visual quality, often by a clear margin. Use it when the destination accepts it. Plenty of older forms and ID portals still want JPG only, and no saving is worth a rejected upload. Check the accepted formats before you export, not after.
A worked example: a form that wants under 200 KB
Say a visa form, a job application, or a marketplace seller portal wants a photo under 200 KB, and your phone photo is 2.8 MB at 4032 by 3024. Aim for about 185 KB, not 199 KB. A small margin covers the gap between a predicted size and the saved file, and it saves you a second round trip.
First try quality alone at full size. At a middling setting the file might land near 600 KB. Still three times too big. You could keep dragging the slider down, but by the time a full-size phone photo reaches 185 KB that way, faces look waxy. So resize instead. Bring the long edge down to around 1600 pixels, which is plenty for an on-screen form, then set quality at a moderate level. Now the export lands close to target with the detail intact. Export it, confirm the saved file really is under 200 KB, and open it full size. If eyes, hair, and any edges in the shot still look clean, you're done.
Mistakes that make things worse
The classic one is compressing the same file again and again. Every save at a lossy setting throws away a bit more, and screenshots suffer fastest. A screenshot of text that gets compressed, sent, downloaded, and compressed again turns grey and fuzzy fast, and the text is the whole point. Always go back to the original file for a fresh export. Keep the original untouched and treat every compressed copy as disposable.
Text screenshots need care for a second reason. Small letters break up long before a photo looks bad, because the exporter treats sharp letter edges as detail it can soften. If the image is mostly text, a document, or a receipt, keep quality high, shrink dimensions as little as you can, and read the smallest line in the export before you trust it. If you can't read it at full size, neither can the person or system at the other end.
Last one: trusting the preview thumbnail. A tiny preview hides almost every flaw. Open the export at 100%, look at a face and at the busiest corner, then decide. Ten seconds. Worth it.
The Verystep Image Compressor runs right in your browser, so your photo never gets uploaded anywhere. Drop the file in, set your target, move the quality slider and watch the size update as you go. Export as JPG or WebP when the number looks right, then check the saved copy before you send it off.
Frequently asked questions
Why does the saved file differ a bit from the size the tool predicted?
The prediction is an estimate made while you adjust the settings, and the final encode can land a few kilobytes either side of it. That's why the steps tell you to aim a little under the limit and to check the saved file itself. The number on the exported file is the one the form will judge.
Should I pick JPG or WebP for a photo?
Pick WebP when the site or form accepts it. For photos it normally gives you a smaller file at the same look. Pick JPG when the uploader lists JPG only, which plenty of government and older business forms still do. A slightly bigger file that gets accepted beats a smaller one that gets refused.
How low can I push quality before it shows?
There's no single number, because it depends on the photo. Busy scenes with grass, hair, or crowds show damage sooner than a plain portrait against a smooth wall. Move in small steps and check at 100% after each one. Once you can see softness or blocks without hunting for them, you have gone one step too far.
Can I compress a PNG screenshot the same way?
You can, but photos and screenshots don't behave the same way. A screenshot with text or sharp lines often stays cleaner as PNG, or at a high quality setting, even if the file is bigger. If a form forces a small target, resize a little and keep quality up, then read the smallest text in the export to be sure it survived.
Does compressing here upload my photo somewhere?
No. The Verystep compressor runs in your browser, on your device. You open the file, adjust the settings, and save the result locally. That matters for ID photos, documents, and anything else you'd rather not hand to a random server just to make it smaller.
More guides
How to Use an Auto Loan Calculator to Compare Two Offers
Two dealers can quote payments that look almost identical and still be selling you loans that cost hundreds of dollars apart. The calculator shows you where the gap hides.
How to Build a Debt Payoff Order: Avalanche vs Snowball, Step by Step
Paying extra money toward debt only works if the extra money has a target. This guide builds that target: an ordered list, made two different ways, so you can see exactly where each spare dollar goes.

How to Project Compound Growth (and Read the CAGR Mode)
This calculator does two jobs in one place: it projects a balance forward at a rate you set, and it works backwards from two balances to the steady rate that links them.